Pages

Monday, May 23, 2011

Menu Monday

So because my brain is fried with all the crafting and traveling I have been doing, I am going to bore you with my weekly menu. I plan my week using 5 days. I know we will eat out at least twice for dinner, and for lunch I figure we will have leftovers one day and meet Steve for lunch out the other.

Monday:
Lunch- Hot Dogs, Chips, Bananas
Dinner- Smoked Sausage Kabobs, Potato Salad,
Strawberries & Pound Cake

Tuesday:
Lunch- Chicken Salad, Grapes, Pretzels
Dinner- Breaded Halibut, Fries, Coleslaw

Wednesday:
Lunch- Nachos & Clementines
Dinner- Spaghetti, Salad, Garlic Toast

Thursday:
Lunch- Lunchables
Dinner- Chicken Packets & Peas

Friday:
Lunch- Club Sandwiches, Pringles, Apples
Dinner- Pork Tacos, Rice, Chips & Queso

All my days are interchangeable. For example I may not be in the mood for Nachos on Wednesday, so I will switch it for Club Sandwiches. The only two meals on this menu that even really use a "recipe" are Chicken Packets & Pork Tacos. Everything else is either uses a packet or premade mix. Let me know if you want details/recipe on anything and I will be happy to get it to you.

Thursday, May 5, 2011

May Faves

So I thought I would pick back up in blog land with one of my favorite things...a LIST! Here are a few of my favorite things as of late:

1)
My New Reusable Cold Cup from Walmart! Love the bright orange color, love the reusable straw, and especially love the rubber "sleeve" that is attached. It also contains gel, so it can be frozen and keep your beverages cooler:) So much love for only $5!

2)
You can't tell so much from this pic, but this is the woods behind our house and at the moment it is FILLED with fragrant Honeysuckle!! This is one of my all time favorite scents but only in nature, representations such as candles are inferior. I open my windows and breathe it it. At least once a day I go back there just to take a big whiff. It is especially fragrant in the evenings!

3)

My current addiction! This little guys are far superior to their large counterparts:) At only 75 calories a pack, I indulge in at least a bag a day. Wished I had stocked up better at the after Easter sales...

4)

This huge mess is one of my current faves! Stamping & Crafting! I obviously can't do either neatly so our dining room table has looked like this 4 out of 5 days this week. At dinner I just shift it to the floor;)

5)


This is really a pleasant floral/summery scent. I found it at Wal-mart for less than $3 bucks, and they have matching candles! It really freshens up my living areas and the pretty blue color of the wax matches my decor nicely too:)

Ok, it is your turn! I have wanted to try my hand at a Linky for a while now, so this is a test run. Use the following link and post a blog telling a few of your faves!

Monday, February 14, 2011

Love in Cookie Form... Sprinkles Optional!

So I LOVE a nice soft sugar cookie. However I am not a big fan of the mess or the length of time to create picture perfect sugar cookies. So sadly sugar cookies appeared from my oven about once a year. Then my life was changed when I kept blog hopping and seeing recipes for Sugar Cookie Bars. Now I am not usually a bar kinda gal unless it is a good ole brownie. However I ♥ these babies!!! I get all the yummy goodness of a chewy soft sugar cookie in less amount of time than it usually takes one batch to bake! So here is my version:

Super Sugar Cookie Bars
1 cup butter, softened
2 cups sugar
4 eggs
2 teaspoons vanilla
5 cups flour
1 teaspoon salt
1/2 teaspoon soda

Preheat oven to 375 degrees. Grease a jelly roll pan/stone. Cream butter and sugar until fluffy. Add eggs and vanilla. In a medium bowl, combine flour, salt, and soda and gradually add to creamed mixture. Press dough into jelly roll pan with greased hands. Bake for 12-15 minutes. I truly recommend 15 minutes especially if you are using a stoneware bar pan. They will be a beautiful golden brown around the edges when done. Remove from oven and cool completely before frosting. If you have a buttercream frosting recipe you love, feel free to use it. I cheated and used canned frosting because I am lazy like that;) and then topped with sprinkles even though I rank those up there with glitter, because I love my children:)
I also recommend letting them sit for a few hours before you cut into bars if you want them to look "pretty" otherwise the frosting doesn't set up. However I will admit I can't usually manage this for the first half of the pan;P
P.S. If you like a thin crunchy sugar cookie these are NOT the cookie for you. Phew, had to get that disclaimer out there...

Friday, January 28, 2011

Jumping off the Bridge

So if everyone is doing it, obviously I will too! All my family members have changed their blog backgrounds & headers to these amazing, eye catching designs. So I felt mine needed a update desperately also. I wanted to steal my sister Lisa Dawn's adorable Poppy background, but didn't think she would appreciate that. So instead I searched the web and found the current background, which totally reflects me. The colors are one of my favorite color combos, besides yellow & turquoise (which is my other favorite). I wish I could figure out how to do all the other little changes that Lisy did, but I was pleased with the few I figured out. So hopefully my new background will inspire to get back on the blog band wagon!

Sunday, December 12, 2010

And the winners are....

Last week was SO fun! I hope you got at least an idea or two, or just had a good time entering all the raffles. But I won't drag this out, I will get on to all the winners! I again used Random.org to decide the winners, and ran the numbers again if the same person won so everybody would have a chance to win something. If you gripe at me I promise to send your gift to someone else!;)

Day 1- Winner of the Ribbon Twirler: Rachel Dawn
Day 2-Winner of the Jar of Nuts: Grams/Lisa
Day 3- Winner of the Cup Sleeve & Gift Card: Clare
Day 4-Winner of the Hand Towel Apron: Lisa Dawn
Day 5- Winner of the Cake Stand: Lisa

P.S. Since Clare wanted the Green cup sleeve and I originally pulled Rachel Dawn's number but she had won already, I am sending Rachel the black cup sleeve as well.
Whew! Hope this seems fair, I tried my hardest!
P.P.S. I realized Kelly didn't win ANYTHING at all, and she is one of my biggest fans! So if she sends me a comment letting me know which project was her favorite I will see what I can do.:)
I really did enjoy sharing all my ideas with you. So much in fact that I am still gonna post a couple of super fast ones this week. So be watching for them. However I won't be raffling them. Mostly cause they are things that wouldn't mail well, or weren't very big, and because it is getting to close to Christmas to try and mail them out in time. Thanks so much for all your fun comments last week, you made my days brighter!

Friday, December 10, 2010

This Gifty Takes the Cake!

The Gifty today can't even really be qualified as a craft, it is SO stinkin Easy! However it is truly cheap & looks good too, so I will share all two steps involved;)

Today's Gifty is a Cake Stand!

Gather your supplies: One Plate of your choice, any candle holder that has a flat top & bottom, & E6000 glue.

Now ready for these complicated step by step instructions?!
1) Turn your Candle Holder upside down and apply a strip of glue all the way around the edges. ( I know it looks like I put glue in the middle, I did NOT that is just the color of the glass)

2) Take your plate and turn it upside down & place candle holder in middle glue side down.


3) Allow to dry for 24 hours. And Voila you have this cute little cake/cookie/candy stand to take to your neighbor or give as a perfect Hostess gift at a Christmas Party. And it took you like 2 minutes and cost less than $5 bucks:) I bought my plates at Tjmaxx or Kohls and paid about $3 a piece for them. Then candle holders came from Micheals or Kmart and I paid less than $2 for each of them.

So since everybody cried "Foul" yesterday, I am giving away EITHER example today. So just leave a comment telling me which one, and what yummy thing you would put on it. All winners will be listed sometime this weekend.
P.S. The Poinsettia one is much prettier in person, I really need a new camera!

Thursday, December 9, 2010

Tie this gifty on for size!

Today's Gifty is by far my favorite idea this week. It is an adorable dish towel apron! This little project takes less than 10 minutes to complete, cost less than $5, and is SO cute!

All ya need to get started is a generous size dishtowel (usually any that aren't made from terrycloth or such work). Mine was from Target's last year clearance and it was about 18x28.

You will also want some good width ribbon, and any embellishments if you so choose. Now begin by laying your towel out and cutting it about 5/8ths the short way. This does not need to be an exact measurement you are just going to iron down and hem anyway. So basically cut it as short or long as you want:)

After you iron your hem down turn right side up and lay about 6 feet of ribbon across the top where your hem will be. If you want a side bow like I used, just position your ribbon about a foot or so more to one side. Run a straight stitch across the top & bottom of the ribbon to anchor in place and Wal-lah! cutey Christmas apron finished!

Now I loved my snowman one so much, and he goes with my decor so I can't give him away. However I made my favorite readers a different example, and one commenter can win the apron pictured below. I had trouble finding towels that had cute appliques already on them like the snowman one, so I bought a cute patterned towel and embellished it with some fabric flowers. The flowers are simply safety pinned on so they can be removed when you wash the apron. Now go buy towels and whip a dozen of these cuties for all the gals you know!;)

Wednesday, December 8, 2010

A cup of comfort and joy!

Today's gifty is probably the most complicated idea I will do all week. However I was determine to conquer it so here is my attempt:

 It's a reusable cup sleeve! I actually have wanted to try these for a while now, and now that I have figured them out I have made like 6!
I used the tutorial found here as a basic guide Reusable Coffee Sleeve. However I modified it by making my pattern larger and lining my regular fabric with felt for durablity and thickness. If you use flannel this isn't neccassary.
So first I took a disposable sleeve and made a pattern on some cardstock and added a generous 1/4 inch for seam allowance.
I then traced around the pattern on my fabric and cut out.


If you are lining with felt this is where you would trace around the disposable sleeve directly onto your felt and cut out. You want your felt to be slightly smaller than your fabric, this is why you use the paper sleeve. Place your fabric with right sides facing together and sew as directed in the tutorial above.
Turn you sleeve right side out and finish with a top stitch. This is actually the most complicated part, but once you get the hang of it it isn't so bad. 


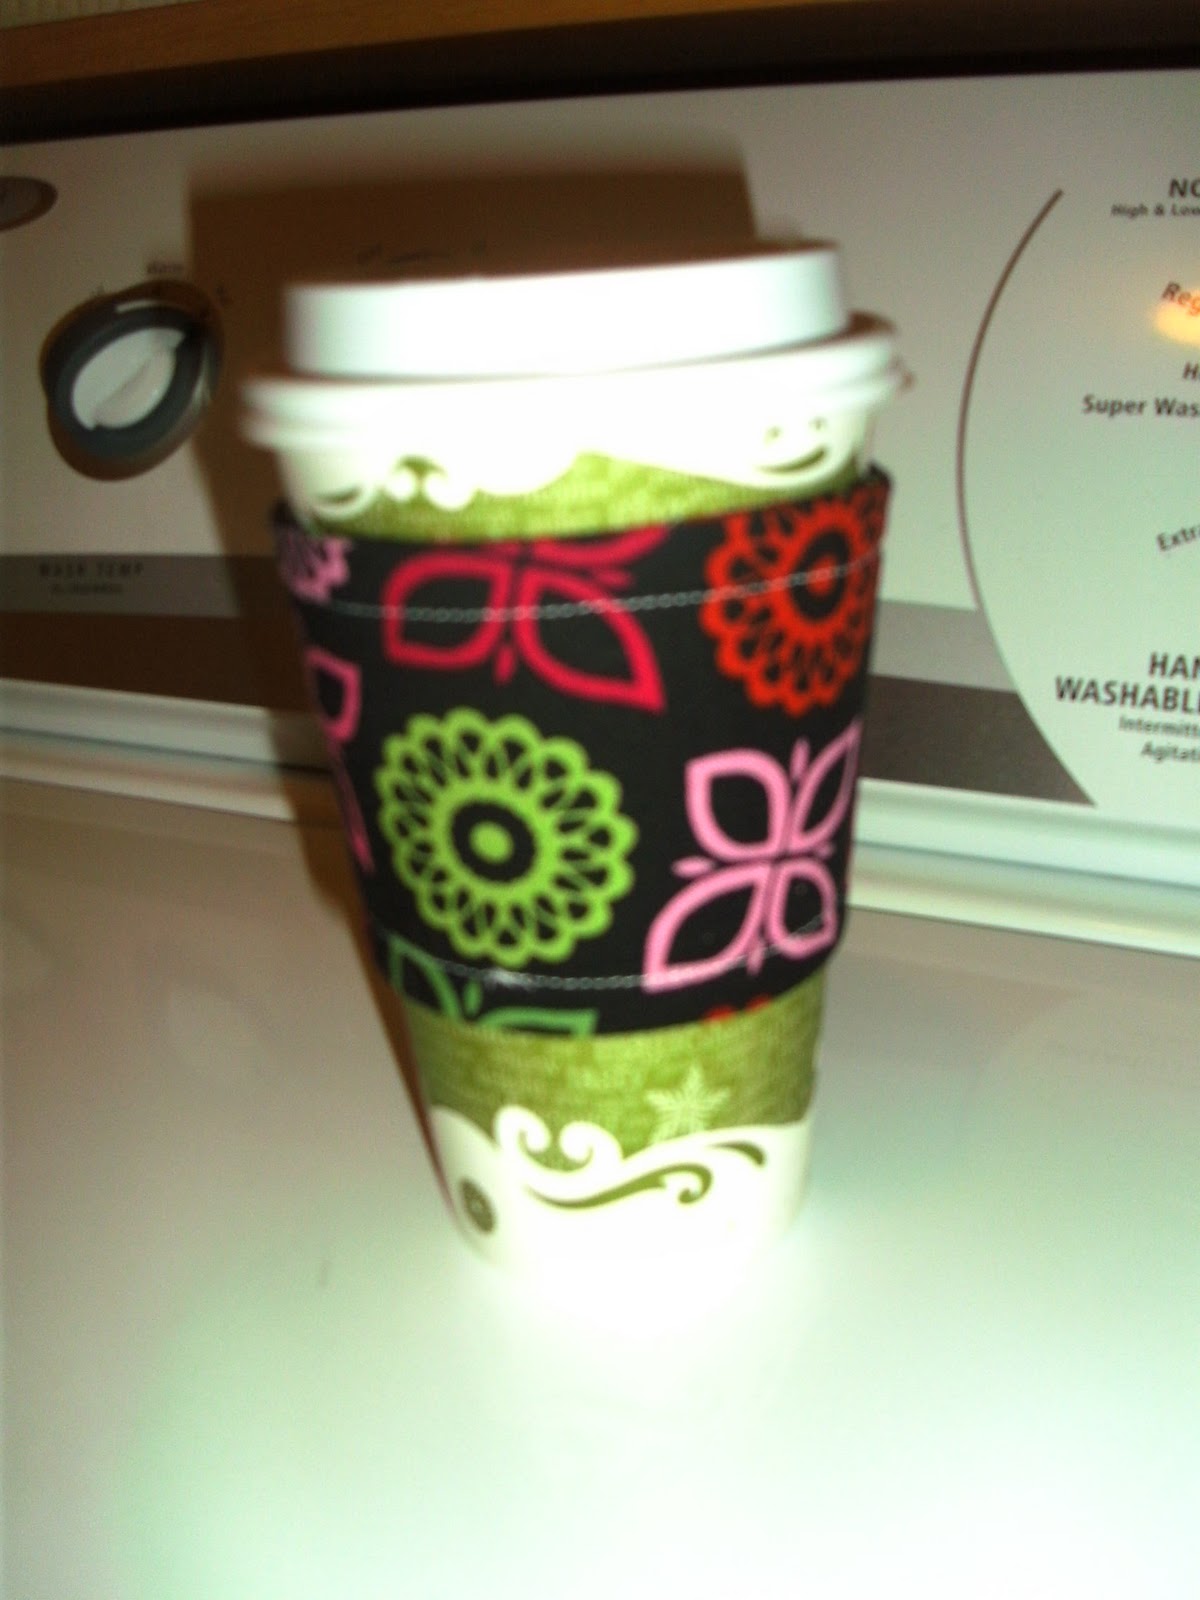
And TaDa! You have an adorable, washable, reusable coffee sleeve to tuck in your purse for all those Starbucks runs:) This also makes a fabulous gift! Which is why I am offering 1 commenter their choice of either sleeve below and a $5 dollar gift card! Just leave a comment telling me which sleeve you prefer. 


Disclaimer: If you sew on a regular basis or well, you may not want to enter the drawing! I am by no means professional level and there are plenty of flaws, however I thought the giftcard might balances that out;)