Pages

Showing posts with label Crafts. Show all posts

Thursday, June 21, 2012

Cheapo, Easy Peasy Luggage Tags!

Our Family is preparing to take several trips this summer. Unfortunately one of them is by air ( I HATE flying!!!). So in a better effort to be prepared, and not have to fill out those annoying little tags at the airport, I whipped up some Luggage Tags.

Here are the gathered supplies:
Some scraps of Scrapbook paper, Scotch Laminating Pouches, Card for smoothing, Printable Shipping Labels, Crop-A-Dile, and optional corner rounder punch.

Now I figure that most people are at Wal-mart enough that have seen these awesome little pouches. But encase you are like me and don't spend enough time perusing the office supply aisle there, here is a close up:
These are less than 2 bucks for a pack of 5, and are self laminating (NO machine required).

The tags were all made by simply printing off my info on the shipping labels (which had to be cut to size & corner rounded them), and then adhering them to the scraps of  paper. I sized my paper 3 1/2 by 2. but you could totally eyeball this part. Then I stuck the paper on the pouch and followed the 2 step directions for sealing it. And VOILA! and cute little tag. I then used my crop-a-dile to punch a hole through all the layers to thread a ribbon for tying. You could try a regular hole punch, but the pouches are pretty thick...
Aren't you jealous of my awesome tech skills that caused me to use a bright orange post-it to safe guard my personal info?!? Alas that is SO not my thing:/
Here is the trio of them, ready for me and the kiddos to attach to our duffels and go:) Not my best work, but definitely some of my easiest and quickest! These literally took me 10 minutes start to finish:)

Friday, August 19, 2011

Makes my heart go Flip Flop!

So I am back from my many travels this summer and I already have a TON going on! However before I get into the Fall swing of things, I have a fun summer post. I put this wreath together and couldn't be more pleased with it. It is the perfect thing to hang on my front door between 4th of July & Fall. I will admit this isn't the cheapest wreath I have ever made, but I thought the result was well worth the cost:)

This really was super UNCOMPLICATED so I won't bore you with many details, I will just give you a brief overview.
1) I bought a flat wooden wreath form from Micheals. Used a 40% off coupon and I think I only paid like $6 or so. Then I spray painted it white. That is what went with my flops best but you could definetily mix things up here:)
2) I then spent WAY longer than I need to arranging the flops onto the wreath in the order I wanted. I used girls size 1 flops that I got for $1.26 a pair and ended up needing 6 pairs. If you use larger or smaller flop this number could be different. Then I hot glued all the flops onto the wreath form.
3) I bought a couple spools of coordinating ribbon at Hobby Lobby 1/2 off, and used them to make a big ole bulky bow. to fill in the spot were I couldn't fit another pair of flops and to add some dimension.


And that my friends is IT!! Honestly I think I did the whole wreath for around $20 and spent less than 1/2 hour making it (excluding spray painting & drying). Not bad for such a fun result:)

Monday, June 27, 2011

My first Applique!! Sew Cute;)

Continuing with my VBS themed crafts, I decided to do a little applique project for Gilly. I have been wanting to try one of these for a long time but didn't have a cute "idea". But with this years VBS theme being the "Big Apple" I knew exactly what I should try for my first one. This was SO simple I am not even going to bore you with step by step instructions.
All I did was take a plain white Tshirt and then it was as easy as 1,2,3...
1) Pick a pattern on which to base your applique and print it out or trace it.
2) Take your prewashed fabric and some HeatNBond and apply using pattern as directed on HeatNBond package.
3) Go around your applique using a broad zigzag stitch .

TaDa!! Super cute and easy applique in like 5 minutes. Here is a close up of my "Big Apple", but don't look to close! I was using a new stitch on my machine and it took a minute to get the hang of :/

Friday, June 10, 2011

Happy Bday Mom!

So today is my mother's birthday and in our family birthdays are BIG deals! So since I couldn't be with her to celebrate her special deal I of course sent her a gift. But I also made her a little "happy" and thought I would show it to her on here, since I am horrible about mailing gifts on time:/

So for My favorite Mom on her bday:
This is the 2x4 Flag that I made for my mother who ♥s all things Americana. This was so super easy that I whipped up a matching one for myself;) I found the tutorial online and "roughly" followed it.

Hope your day is as fun as I would make it if I were there Mom! Love you and wish I could be there:)

Wednesday, June 8, 2011

Grab a Cab (Snack that is!)

So today's post isn't quite as corny as the title;) However it is super quick and easy. I am not going to give long detailed steps since it basic (Don't act SO happy!). Instead I will just give you a quick overview.

Here is what I came up with:


All I did to whip up these cuties is take a small treat bag ( I got 100 at Hobby Lobby for a $1.50 with my 40% coupon!) I then printed the words "Cab Fare" on yellow cardstock. I cut to size of my baggie and then stamped with the cute Taxi stamp that I got from Lifeway! I also punched out the checkerboard pattern at the bottom and put black cardstock on the back to make it show up. The punch is purely optional, actually the Taxi Stamp came with a Checkerboard stamp it is just bigger than I wanted to use. I then stapled the whole little "header" on the baggie in which I had placed 3 chocolate coins. Ta Da that's it! For resource purposes I will show the stamps and punchout that I used:


You will notice that I pulled the cab stamp off the foam block and put it on a clear block. I found it impossible to line up using that bulky foam block! I actually have an extra set of these stamps so if you leave a comment you can win it! Check back tomorrow for more:)

Tuesday, June 7, 2011

VBS Gifty Week!! BookClip Tutorial

So I am sure if you reference last years VBS Post you will see shocking similiarites. Again we are between church homes, so I am not able to help with VBS. This makes me so sad:( However I can't help by getting in the theme of things with a few little quick crafts. The ideas I post this week would be great as teacher appreciation gifts from a student to their teacher, or a left by a VBS director in the teacher's lounge, or from a teacher to their aides. Nothing I will post this week is very spendy or complicated, so all you have to do is get the supplies:)

My first little "gifty" this week is Apple Clips. These little cuties are a breeze to make and would look so cute on your VBS guide book;)

You will need the following supplies:


 Cardstock in Colors of your choice, Jumbo Paperclip, PopUp glue dots, punches in the following sizes: Large Scallop, 1&3/8 Circle, and Apple punch. (oh and a taperunner or gluestick, just pretend you see them!)


Punch two of each shape as follows:

Stack and Glue (use tape runner or gluestick NOT PopUp dots yet) your punches in this order: Scallop under Circle but not the Apple yet. Then take your Paperclip and PopUp glue dots and sandwich the PunchOuts on either side of the paperclip with the gluedot in between. Now you can add the apples! If you add these before you put it on the paperclip, it is a pain to line the apples up right.

What you should end up with looks like this:
This actually way easier than the complicated steps I have to always include:P In fact I whipped up a different variation in approximately 1 minute!
I just love this lil guys:) If you don't want to run out and buy the punches I am willing to mail sets of the punchouts for basically postage & cost of supplies which means all you would need to purchase is the paperclips and gluedots! Check back later this week for more VBS ideas:)

P.S. Should I give one of these away to one of my few loyal readers? Leave a comment and tell me whatcha think;)

Friday, December 10, 2010

This Gifty Takes the Cake!

The Gifty today can't even really be qualified as a craft, it is SO stinkin Easy! However it is truly cheap & looks good too, so I will share all two steps involved;)

Today's Gifty is a Cake Stand!

Gather your supplies: One Plate of your choice, any candle holder that has a flat top & bottom, & E6000 glue.

Now ready for these complicated step by step instructions?!
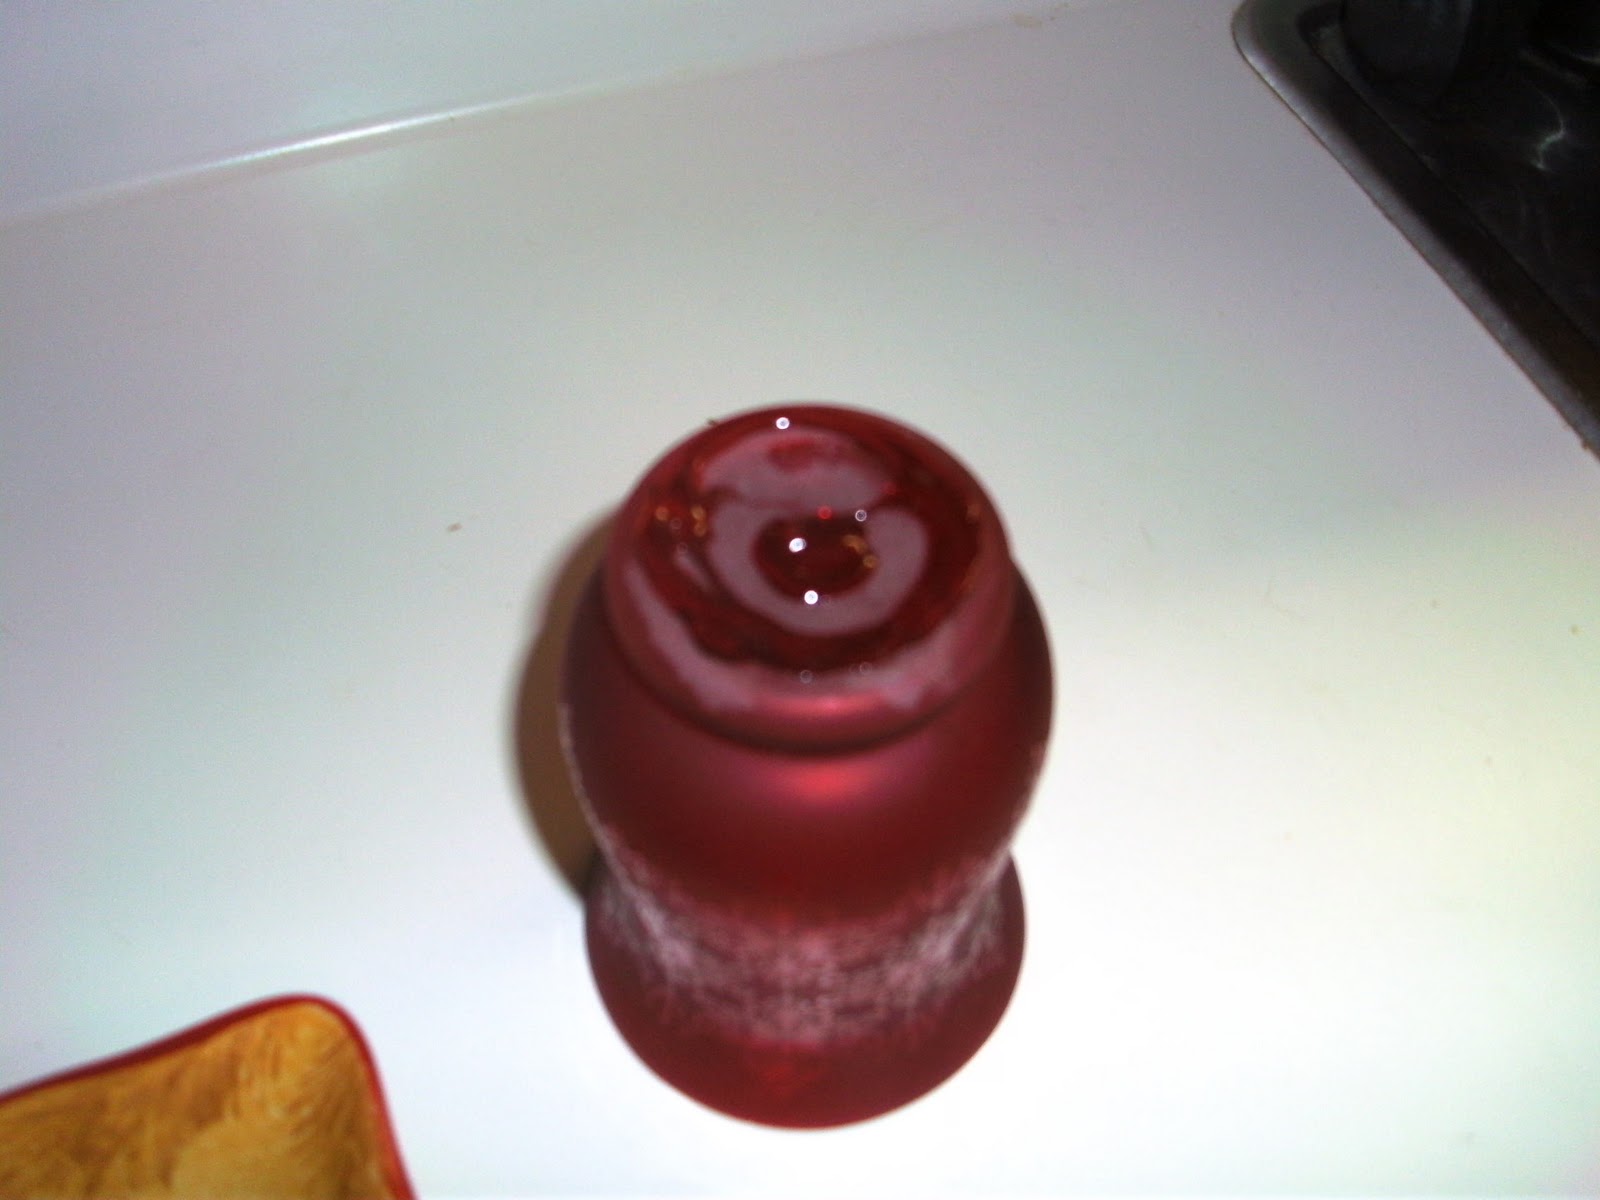
1) Turn your Candle Holder upside down and apply a strip of glue all the way around the edges. ( I know it looks like I put glue in the middle, I did NOT that is just the color of the glass)

2) Take your plate and turn it upside down & place candle holder in middle glue side down.


3) Allow to dry for 24 hours. And Voila you have this cute little cake/cookie/candy stand to take to your neighbor or give as a perfect Hostess gift at a Christmas Party. And it took you like 2 minutes and cost less than $5 bucks:) I bought my plates at Tjmaxx or Kohls and paid about $3 a piece for them. Then candle holders came from Micheals or Kmart and I paid less than $2 for each of them.

So since everybody cried "Foul" yesterday, I am giving away EITHER example today. So just leave a comment telling me which one, and what yummy thing you would put on it. All winners will be listed sometime this weekend.
P.S. The Poinsettia one is much prettier in person, I really need a new camera!

Thursday, December 9, 2010

Tie this gifty on for size!

Today's Gifty is by far my favorite idea this week. It is an adorable dish towel apron! This little project takes less than 10 minutes to complete, cost less than $5, and is SO cute!

All ya need to get started is a generous size dishtowel (usually any that aren't made from terrycloth or such work). Mine was from Target's last year clearance and it was about 18x28.

You will also want some good width ribbon, and any embellishments if you so choose. Now begin by laying your towel out and cutting it about 5/8ths the short way. This does not need to be an exact measurement you are just going to iron down and hem anyway. So basically cut it as short or long as you want:)

After you iron your hem down turn right side up and lay about 6 feet of ribbon across the top where your hem will be. If you want a side bow like I used, just position your ribbon about a foot or so more to one side. Run a straight stitch across the top & bottom of the ribbon to anchor in place and Wal-lah! cutey Christmas apron finished!

Now I loved my snowman one so much, and he goes with my decor so I can't give him away. However I made my favorite readers a different example, and one commenter can win the apron pictured below. I had trouble finding towels that had cute appliques already on them like the snowman one, so I bought a cute patterned towel and embellished it with some fabric flowers. The flowers are simply safety pinned on so they can be removed when you wash the apron. Now go buy towels and whip a dozen of these cuties for all the gals you know!;)

Wednesday, December 8, 2010

A cup of comfort and joy!

Today's gifty is probably the most complicated idea I will do all week. However I was determine to conquer it so here is my attempt:

 It's a reusable cup sleeve! I actually have wanted to try these for a while now, and now that I have figured them out I have made like 6!
I used the tutorial found here as a basic guide Reusable Coffee Sleeve. However I modified it by making my pattern larger and lining my regular fabric with felt for durablity and thickness. If you use flannel this isn't neccassary.
So first I took a disposable sleeve and made a pattern on some cardstock and added a generous 1/4 inch for seam allowance.
I then traced around the pattern on my fabric and cut out.


If you are lining with felt this is where you would trace around the disposable sleeve directly onto your felt and cut out. You want your felt to be slightly smaller than your fabric, this is why you use the paper sleeve. Place your fabric with right sides facing together and sew as directed in the tutorial above.
Turn you sleeve right side out and finish with a top stitch. This is actually the most complicated part, but once you get the hang of it it isn't so bad. 


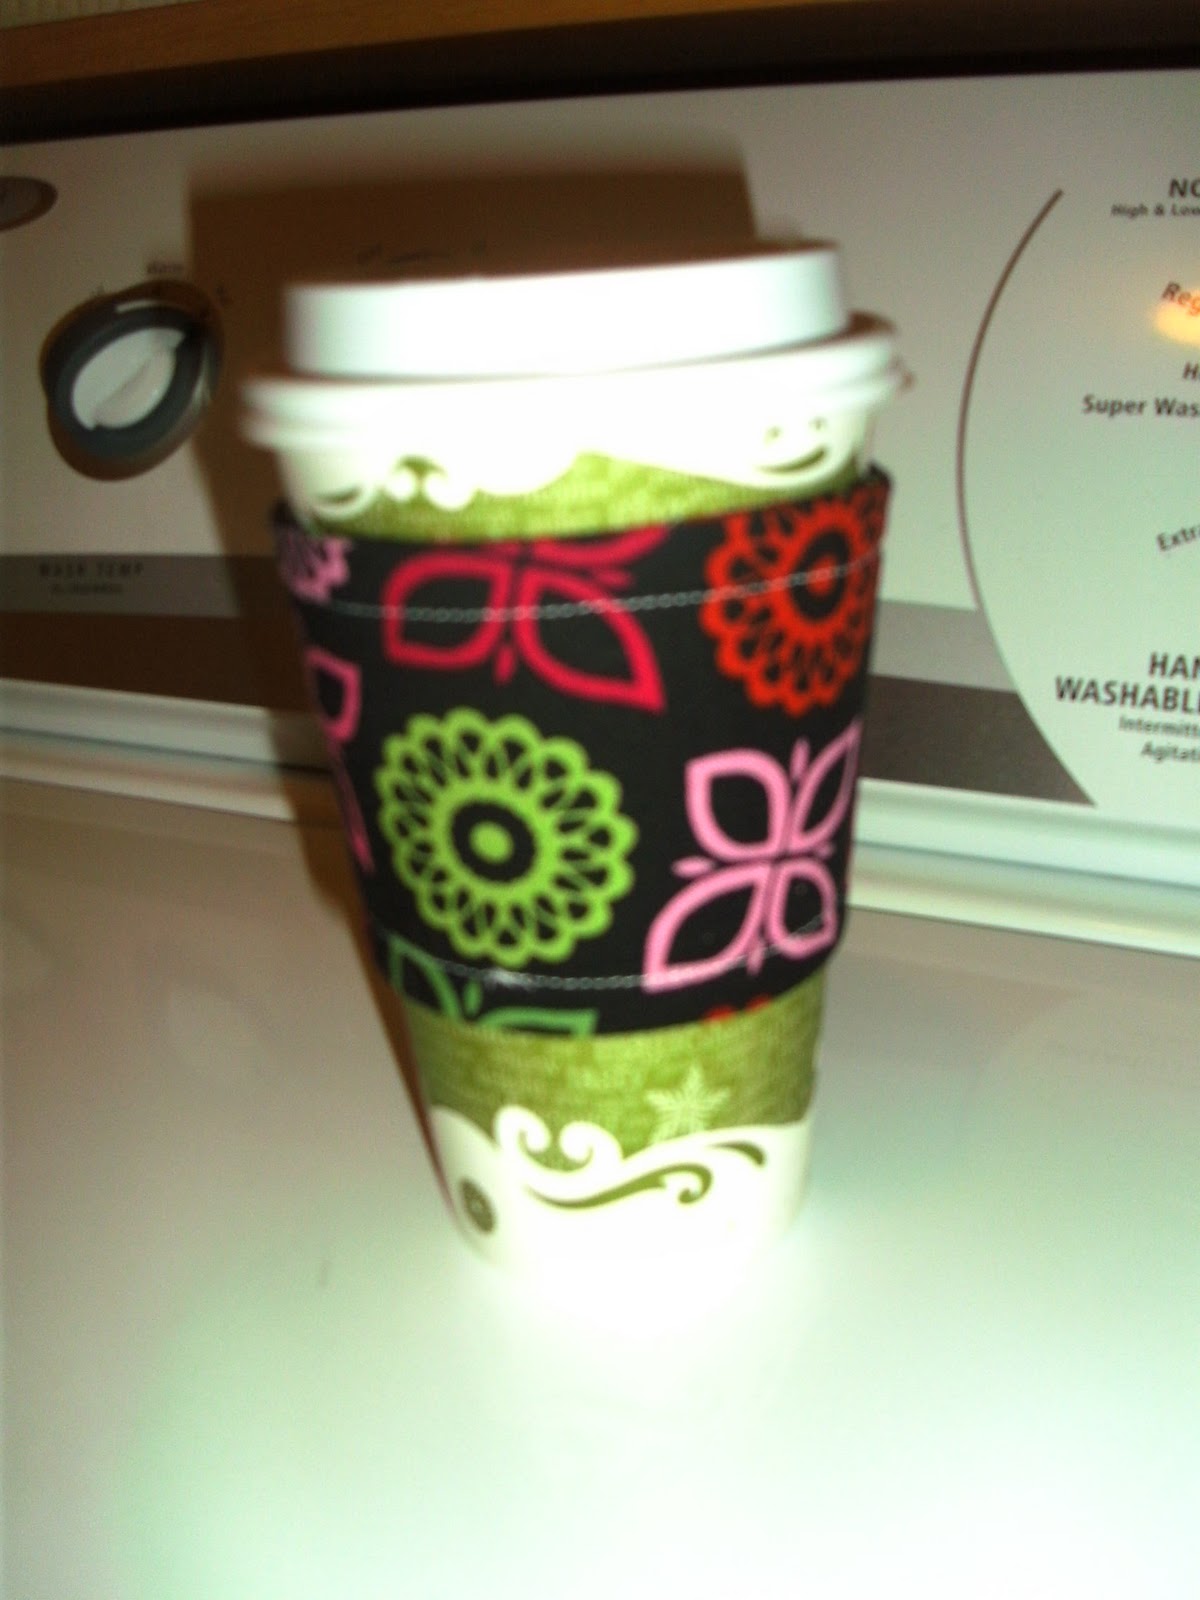
And TaDa! You have an adorable, washable, reusable coffee sleeve to tuck in your purse for all those Starbucks runs:) This also makes a fabulous gift! Which is why I am offering 1 commenter their choice of either sleeve below and a $5 dollar gift card! Just leave a comment telling me which sleeve you prefer. 


Disclaimer: If you sew on a regular basis or well, you may not want to enter the drawing! I am by no means professional level and there are plenty of flaws, however I thought the giftcard might balances that out;)

Monday, December 6, 2010

Let the Week of Gifties & Giveaways Begin!

So I am super excited to share this week with you! I have several fun little crafty/cooking things that I made, and I will be showing you at least one idea every day this week. Then I will randomly select a commenter to give the example away to! How fun for me & you:) For simplicity sake I will be selecting the winners from the entire week this weekend. Make sure when you leave a comment I have some way to contact you encase you win and I need your address.

So with out further ado...Monday's gifties is a Ribbon Twirler. This cute little idea is perfect for any little girl and a snap to make. And if that isn't enough incentive the total cost is less than $3! Here is what you will need to start this project: A 12 inch piece of dowel rod (mine was about the same diameter as a dime), 3 to 4 coordinating ribbons in different widths, acrylic paint to match, and one "eye" like from a hook and eye set. I found these at Lowes in 2 & 3 packs depending on size for less than a buck.


At this point you will probably need to drill a hole in the end of the dowel rod so that it is easier to insert the eye. I had my handy husband do this;) Then using the eye as a hand hold proceed to paint your rod the color of your choice.
After painting the rod lay across a paper plate to dry. This won't take long! I then applied a second coat just for good measure, and allowed it to dry also.

 While your rod is drying, cut 5 feet of each ribbon and then make a separate small loop ( about the size of a half dollar) from your thinnest ribbon and knot it closed. Take your other ribbons and barley thread them through your ribbon loop, leave just enough ends to either sew or hot glue the ends down. So now you should have a loop with the 5 feet of different ribbons trailing down it:)


Take your loop and squeeze it through the small slit on the "eye". This basically finishes your Ribbon Twirler! You can hot glue the small slit shut if you are worried about the ribbon coming back through, but I didn't find it necessary on mine. I also would think a nice coat of clear shellac would a bonus too, but I didn't have any. This is what the finished product looks like:)


My daughter LOVED this thing and actually requested we make some for her friends for Christmas. I think they would be great stocking stuffers! It is just a fun silly girly thing to make:) Hope you enjoy and be sure to leave a comment if you would like to win the pink & black one from my demo!

Wednesday, December 1, 2010

Making a List....Giving it Twice!

So on this first day of December, I am very much in the spirit of Giving! I did some Christmas shopping today, and of course I reference my handy shopping list several times. I love, Love, LOVE a list! Don't you? So since I know you all agree I am going to share this super cheap & cute idea for you very own homemade shopping list pads. AND....because I feel like giving gifts today, I am going to give the two examples I made away also:)

But first, how to make this little guys encase you want to make some as gifts or if you are like me and go through list pads weekly;)  All you will really need to start these is small legal pads (that you can have the office store cut in half for you), sturdy scrapbook paper, embellishment, adhesive of your choice, and preferable a paper cutter. However scissors will work, I am just lazy:)

Start by cutting your scrapbook paper 2 & 5/8 of inch across and 3 & 1/2 inches long. Now I got kinda fancy here and used a punch to make a pattern on the edge of my paper but you can leave it straight it is still very cute. I then measured up about 1 & 1/4 inches and scored a 1/4 inch space that will fit the top of the pad. This just makes it lay nice, you don't have to score. You can glue down your paper to the back and fold over the front with almost the same effect.


After you have scored/ folded you paper attach to list pad with preferred adhesive and then embellish with Ribbon, Buttons, Stickers, Etc. I think the adorable little paper flowers my sister Clare makes would be super cute, but I haven't had the patience to try any. And that my friends is IT! In like 3 minutes you have cutesy, personalized shopping pads.


This is the one I made for the blog, I will call this one "Country Christmas".
And this one below is one I made cause I am enamored with the colors Black, White,& Red this season. SO I am calling this one "Contempo Christmas"
If you want to get one of these guys in the giveaway, just leave a comment telling me which one you prefer and how awesome it is that these are so quick and cheap;) I will randomly select 2 people on Friday and mail the list pads out this weekend! Merry Christmas & Happy Shopping:)

Thursday, October 7, 2010

I'm BAAACK! with a Candy Corn Wreath in Hand;)

I know everyone missed me more than words can say!;) To be honest the time away was REALLY good for me, and got some of my creative juices flowing. So hopefully the posts will be a little more consistent, but no promises!

Onto my real purpose of this post...My Candy Corn Wreath!

Now while I HATE eating those vile little sugary candies, I also smile when I see them because they remind me of my favorite Aunt who adores them. So when I saw this wreath on the cover of a magazine I knew I had to make it in her honor. This little guy turned out to be fairly simple and not very spendy, which are both things I look for in any craft.

Whatcha need is pretty basic: 
  • Any size Styrofoam wreath ( I used 6 inch because I am cheap & lazy)
  • Black duck tape
  • Candy Corns ( I recommend Brachs because they are sturdy and some of the prettiest)
  • Ribbon
  • Hot Glue Gun & several Glue Sticks
  • Paper Plates for Glue Gun drippings & Candy Corn picking
 1) Wrap your wreath in the duck tape. This didn't not look that pretty to me at first, and honestly was rather lumpy. But it didn't end up mattering at all.
2) Heat Glue Gun, and grab a paper plate to pour your Candy Corns onto. All the instructions I read said at this point to lay the candy corns out on your wreath to get a good idea how to fit them on. Again, because I am lazy I just decided on a starting point and figured anything that didn't come out right I could hide with ribbon;) I did however follow the instructions to place the rows opposing each other and that worked out great!
3) Continue to glue candy corns on wreath till it is a full as you want. As you can see from my pic above I originally intended to glue only 4 rows, but since I bought the huge bag of candy corns and it was coming together faster than I thought, I went on to do 6 rows which made it very full:) I only ended up having one row not come out "even", and I bet from the pic you can barely spot it, so I didn't worry.
4) After you have glued all the candies in place, grab your ribbon and make a hanger with a bow. My recommendation here would be to go for wide/thick ribbon. I was again being cheap and bought some pretty decorator ribbon(that is actually black & orange, NOT black & pink like it looks in the pic) that was a buck and the wreath is to heavy for it:( However it LOOKS cute!
So there ya have it. A project that took less than 1/2 an hour, and only cost about $10. Granted I did have some Michael's coupons I used on the wreath and tape, however I easily think you could skip the foam wreath and the duck tape by using a cheaper straw wreath with cute fall looking results. Let me know if you try this and how it turns out. Be back soon with pictures of my Gilly Bean's 8th Birthday!